
So here you are, about to create your first build in TaleSpire but you’re staring at a blank board and unsure where to start. Maybe you’ve got a game you’re going to be running in an hour for your players, and there’s no way you can build something that will make you or them happy in time. Well, you’ve found the right place to solve that problem, and with this guide you can put together an amazing adventure in Talespire in minutes!
FYI, this guide is also helpful if you’ve created an amazing creation in TaleSpire and you want to give back to the community by sharing your slab (creation) or board (map).
Table of Contents
TaleSpire Sharing Basics
What is so great about sharing in TaleSpire?
What do all these terms mean? What’s a board vs a slab?
What are the rules for using, or uploading slabs or boards?
What tips do you have for uploading boards and slabs?
Searching for Slabs or Boards
What is so great about sharing in TaleSpire?
TaleSpire is a fantastic piece of software for playing online D&D or any other tabletop roleplaying game. Its ability to create fully immersive locations and encounters makes the game an entirely new experience, but what really makes it amazing is the community and their willingness to share wonderful creations with each other.
The community has created thousands of builds as of this writing and this is only the beginning. Whether you’re looking for a map for the Dungeon of the Mad Mage, Rime of the Frostmaiden, or even Dragon of Icespire Peak, the community has a lot to start with. There are so many locations to explore and adventures to be had that you can find with nothing but a simple click by browsing our TaleSpire Library to get started.
What do all these terms mean? What’s a board vs a slab?
Well, to get you really well versed if you aren’t sure of all the terminology we highly recommend reading up on our TaleSpire Terminology Guide. Here’s a quick rundown of these first two key terms you need to know for sharing and reusing the community creations.
Slabs
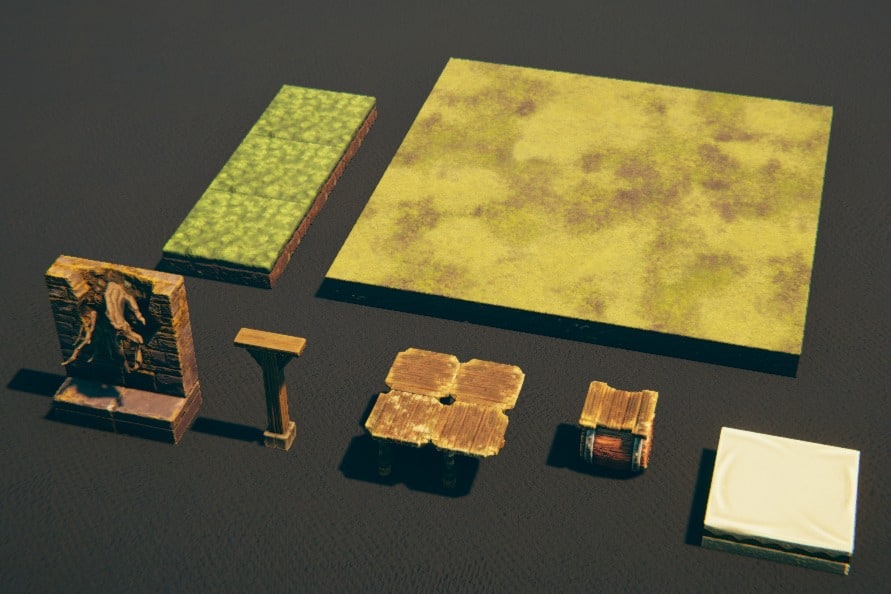
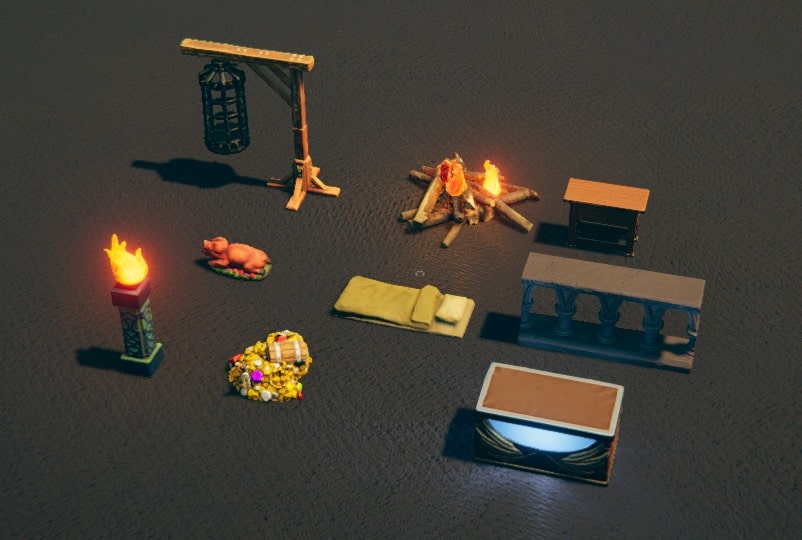
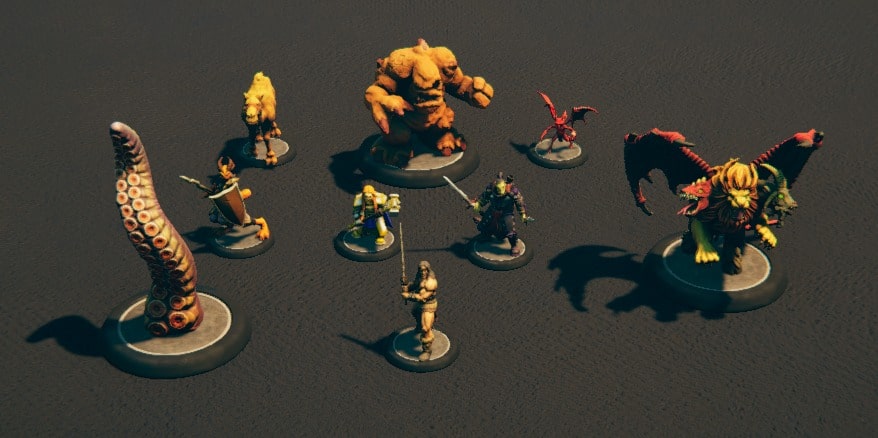
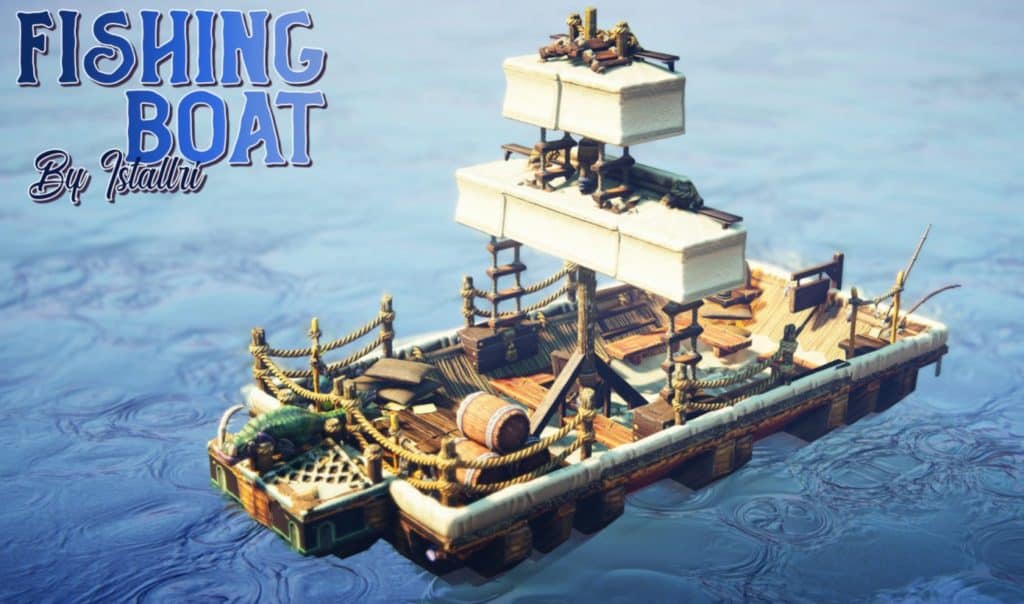
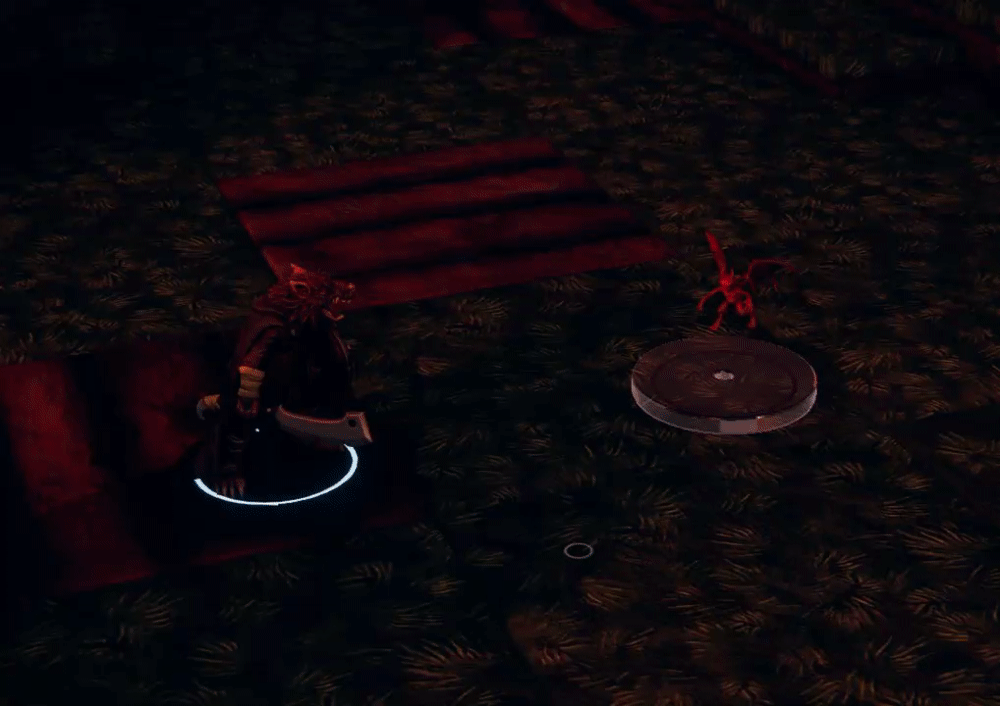
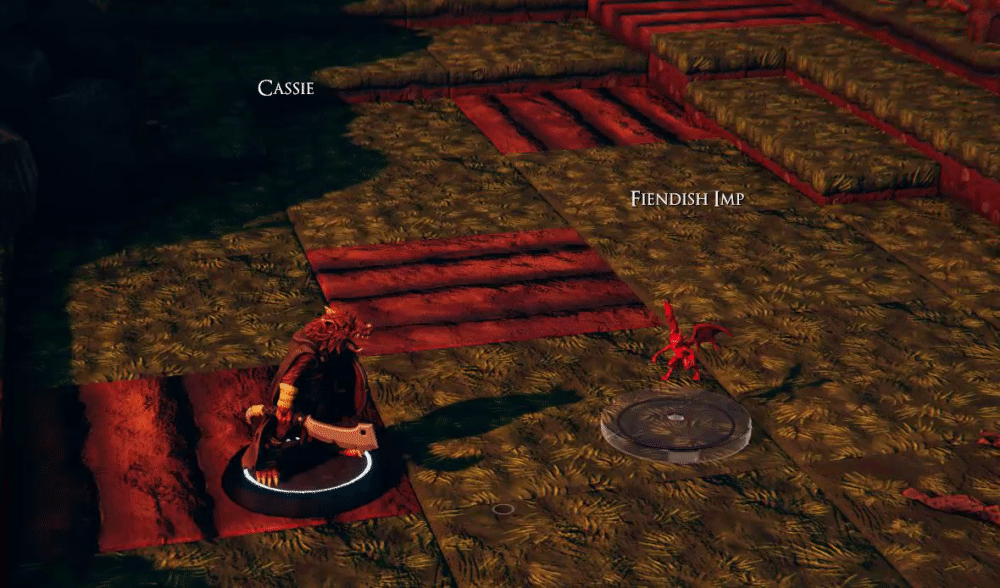
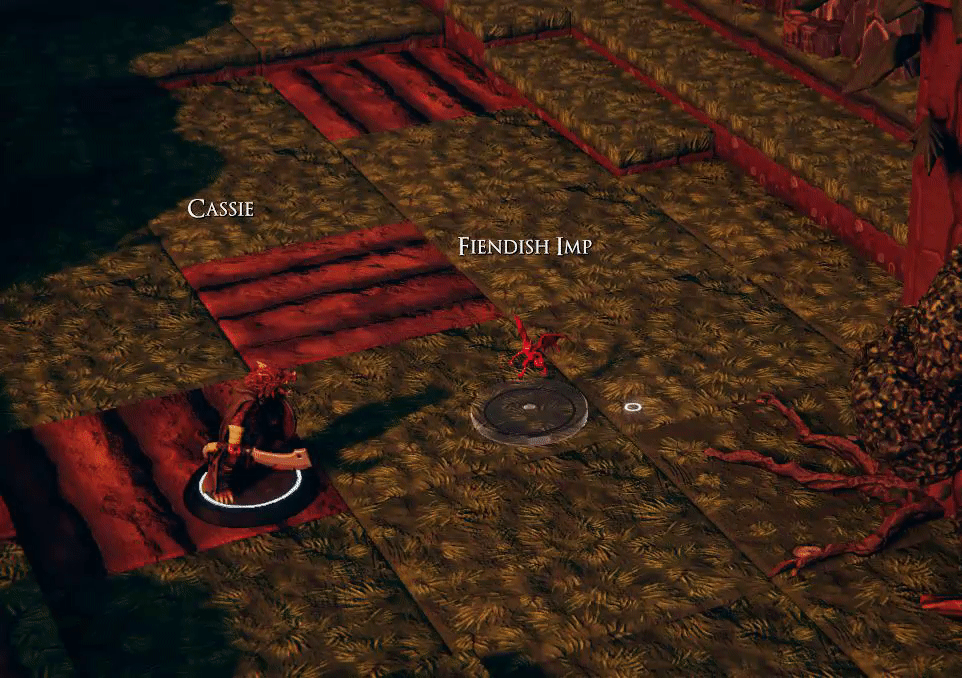
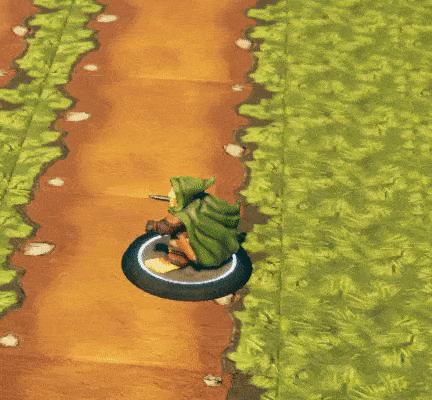
Slabs are the term you probably haven’t heard before. Slabs are the term that has been accepted in the community for describing the pieces that are constructed from the assets, props and minis in TaleSpire. Just like those building blocks we all grew up with, that were used to build buildings or cars or amusement parks, slabs are built with assets just the same. They can be as small as a simple garden, or as large as a mountainside with a dungeon inside. They can be copied out and shared here and if you browse our TaleSpire Slab Library you can find things for just about any campaign you could run.
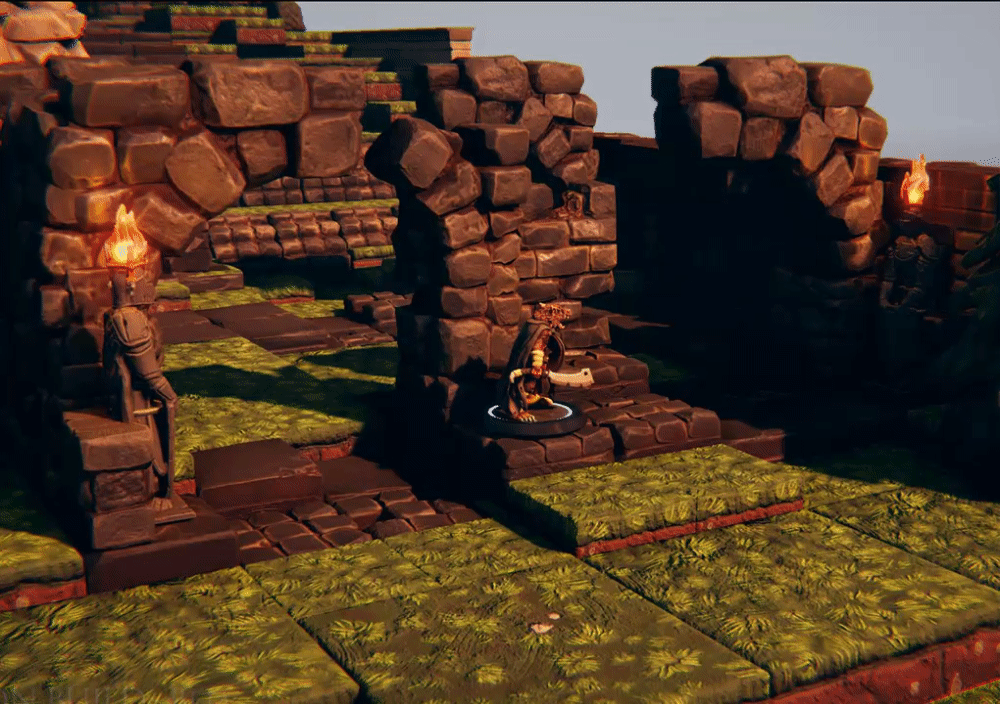
Boards
Boards are what they sound like, digital bases on which you place the assets and for TaleSpire sharing purposes. They are similar to what you’d expect if you were sharing maps. Boards share the entire build data, compared to slabs that share only what you selected and copied. Boards can contain much more than a slab including minis, but they also aren’t as easy to use if you’re trying to mix and match together pieces to create your own environment.
What are the rules for using, or uploading slabs or boards?
Luckily, there are not a lot of rules for using and uploading, here are a few to follow.
First of all, the whole reason for this site and all its creations is to share and let them be reused. Mostly everything here is fair game for you to use in your private home games as you want. But if you decide to either turn a profit off these creations, or want to upload something you created that is based on or using pieces from another build, then you’ll need to make sure to follow a couple of simple rules.
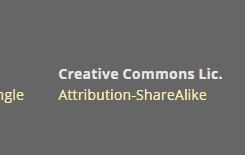
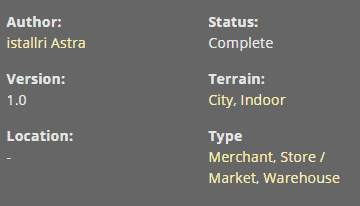
- If the slab or board creator that you are copying from has added a Creative Commons License selection on their board or slab, it will be listed on the details page of that board or slab (as shown below). Make sure to click the link and understand what you are allowed, and not allowed, to do with their creation.
2. Even if the slab or board creator has not listed a Creative Commons License, you should give them credit in the description of your upload if you share your new creation. A mention, link, or such is not only respectful of their work but gives them proper credit for the work they put in.
What tips do you have for uploading boards and slabs?
There are a number of things you can do when uploading that will both help your creation be found but also make it more usable.
- Board or Slab?: First decide if it should be a slab or board you upload. Slabs are more limited in size (30k clipboard limitation) and will not contain minis. On the flip side they have the benefit of being easily duplicated multiple times, or fitting into an existing layout or board. Boards can be much larger and contain minis, so for large complex areas or full campaigns they make a good choice.
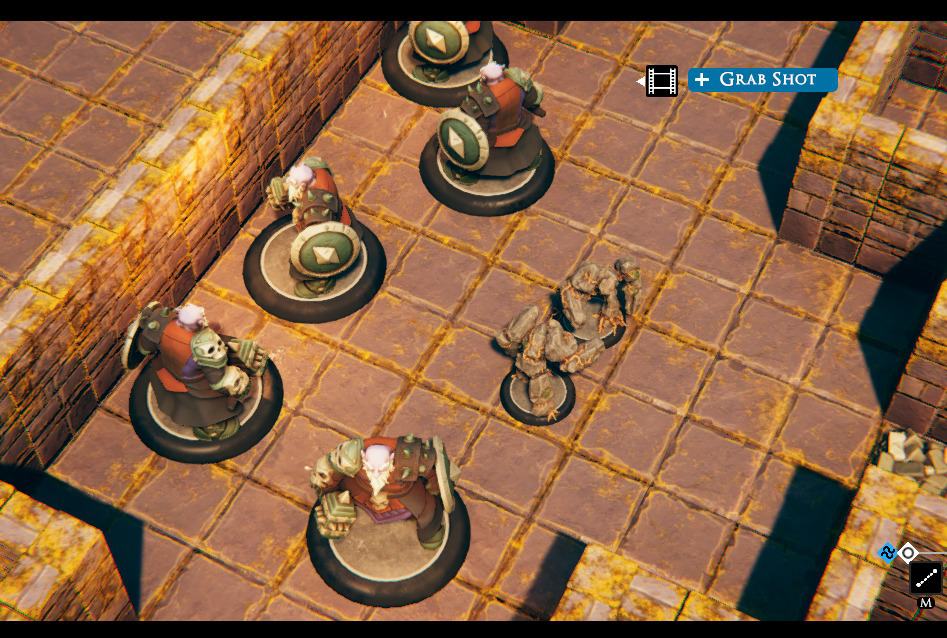
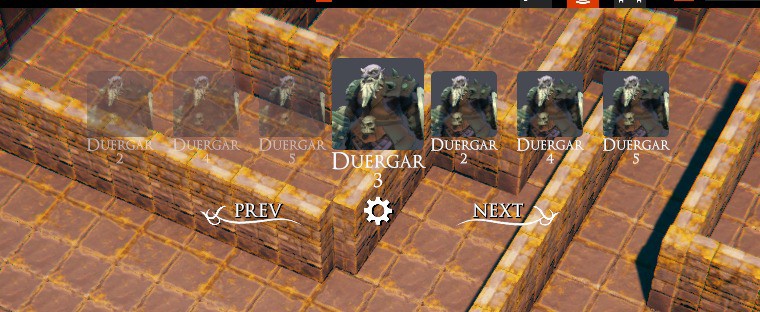
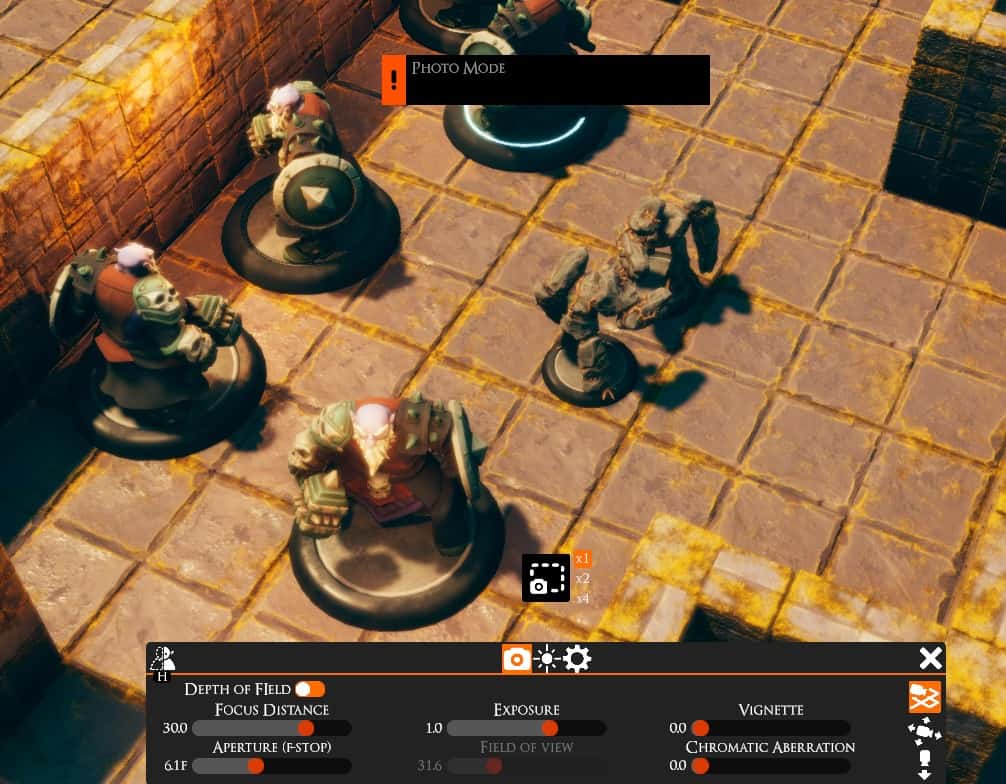
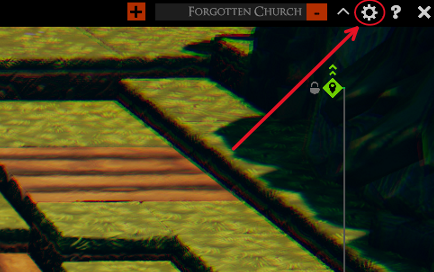
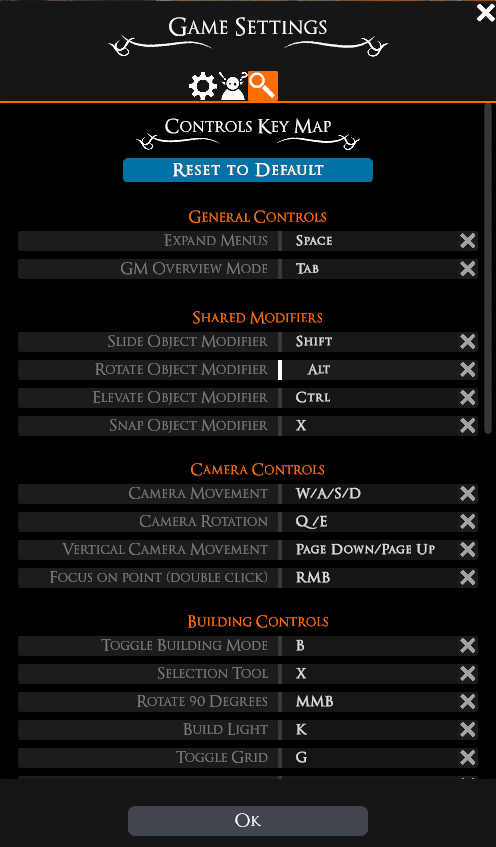
- Screenshots: Make sure to get good screen shots, the more the better! You can use TaleSpire’s photo options (F6 for Camera Mode, F12 for Steam Screenshots, Windows Key-Shift-S for Windows built-in screen shots, etc.). Istallri has a great TaleSpire screenshot guide on YouTube
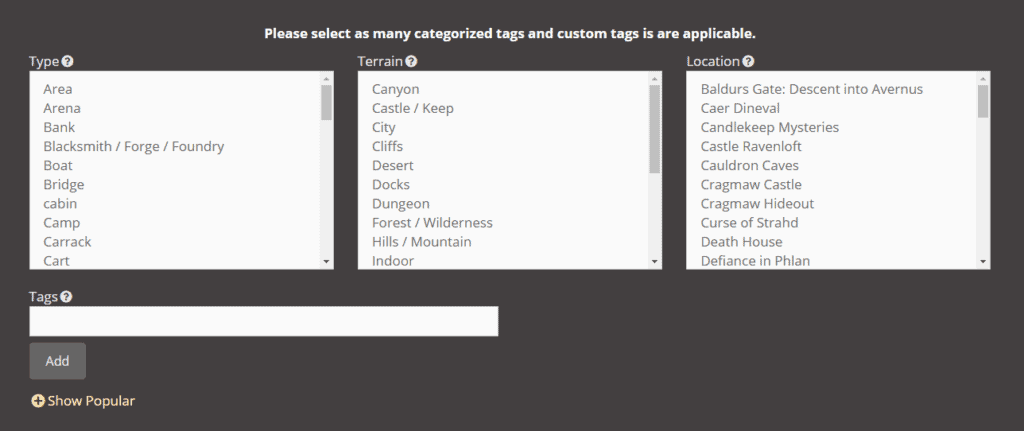
- Categorize: It takes a bit more work to do, but if you can properly assign any proper types, terrains or locations when uploading your creation this will help users out. It not only improves search results but also lets users filter down for even better targeting. Freeform additional tags also help, so feel free to use these tags for anything you think users may search for.
- Credit: As mentioned before, if your creation uses parts from other published works, make sure to give them credit or a mention in your description. This community is all about building together but don’t take credit for things you didn’t create.
How do I find slabs or boards to reuse in TaleSpire?
If you want to find a slab or board to use from the community, there are a few ways to go about it.
- Search: You can use the search box in the top right of the Tales Tavern site. This will automatically search the TaleSpire Slab and Board library for whatever you search for. This can include standard names, locations, or even creator names on the site.
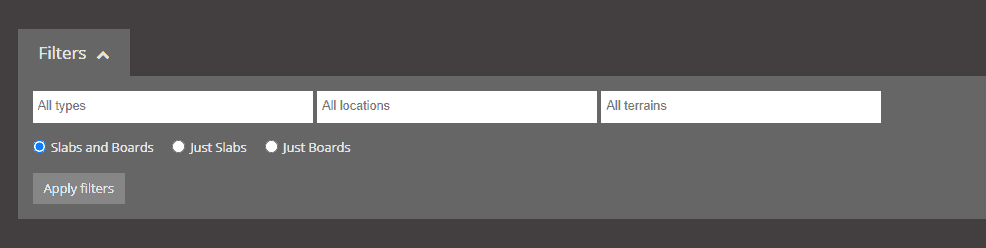
Quick Tip: Once you’ve searched or are browsing, you can use the filtering options to further slim down the results if you’ve found too many matches.
- Browse: You can browse the entire TaleSpire Slab/Board Library. If you have no idea what you are looking for you can simply browse through and see what you can find.
- Browse by Category: If you are looking for a particular category or type of creation, you can use our browse by category page. This lets you look for particular creations based on the location, type, or terrain.
Quick Tip: Another option, if you find a slab or creation you like, is to see other creations by that creator by clicking on their name, or browse similarly tagged creations by clicking the tag in the info box on the page.
How do I use a TaleSpire slab uploaded to Tales Tavern?
Well I’ve got good news for you, using a community-created TaleSpire slab in your game couldn’t be much easier. If you know how to copy and paste, you can use a slab very easily. Just follow these quick steps: the TL;DR is click the copy code button, and paste (ctrl-V) it into TaleSpire.
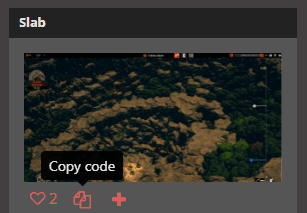
- Find a slab on Tales Tavern. Make sure it’s a slab as it will be denoted above the thumbnail (make sure it says slab not board), or on the top right of the details page.
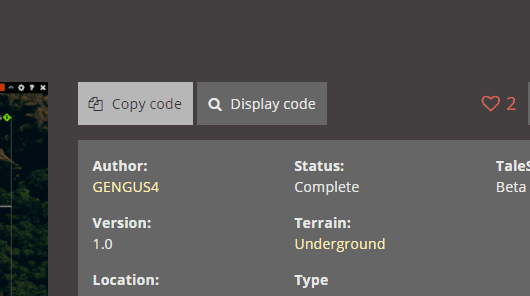
- Click the button to copy the code for the slab, which can be in one of two locations. If you are viewing the slab thumbnail while browsing/searching it’s under the thumbnail picture and looks like two pieces of paper overlaying each other. If you are viewing the slab details page click the Copy Code button.
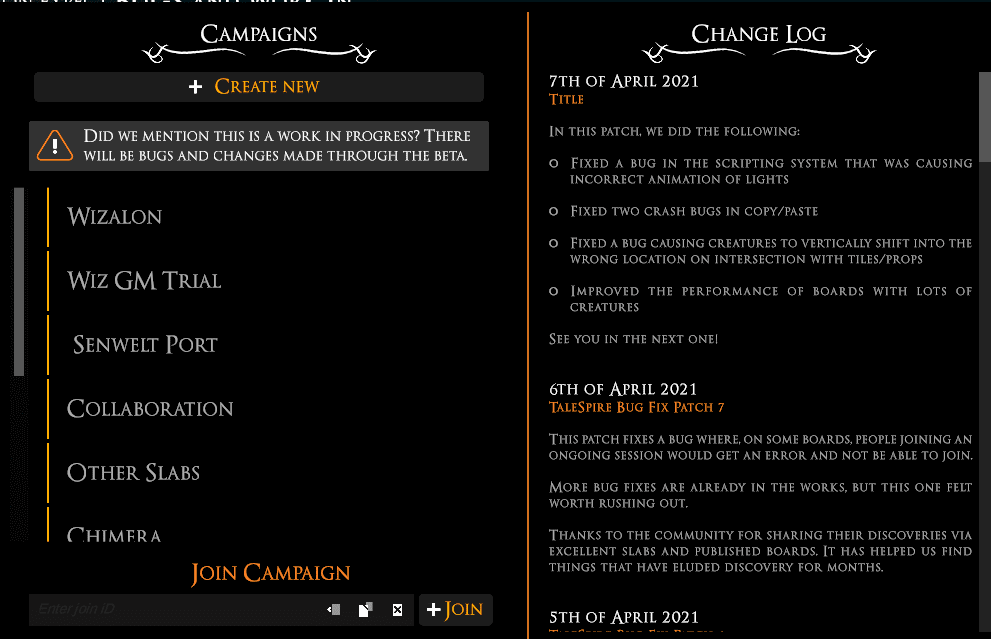
- Start up TaleSpire and open a campaign, then a board you want to place the slab in.
- Now press Ctrl-V and your slab will appear in the board and you can move it and place it with the mouse. Yes, it’s that easy.
How do I share a slab I’ve created in TaleSpire?
You’ve created something in TaleSpire and you’re looking to share with the community your build. Let’s give you props right now, you’re awesome! This is how TaleSpire grows and becomes even better. Okay, props done, lets get down to business, albeit quite easy.
- Before uploading your slab, you’ll want to save a few screenshots. We’ve got some tips if you need help on how to take screenshots in TaleSpire.
- Now go to the Slab/Board Upload page
- Go ahead and fill out the name, and then get the slab code.
- In order to get the slab code, you’ll need to first select your entire built slab. You can select it all by going into build mode with B, then holding X (or pressing the Slab selection button in the building toolbar) before dragging the height/width of your slab. Then let go and lift the mouse to complete the selection and left-clicking so your slab is highlighted, and press Ctrl-C to copy the slab. When you do this, the selection box will disappear and your mouse will hold a copy of your slab.

- You can press escape or right-click to remove that duplicate in your build, the code will still be stored in the Windows clipboard
- Now return to the Tales Tavern upload page and in the code box simply press Ctrl-V. This will dump the code in for you easily.
- Now go through and fill out the rest, adding locations, types, and terrains that are appropriate. Don’t forget free form tags, descriptions, uploading your images and checking off that you created the slab.
- Make sure to give anyone credit who you used pieces from.
- Now click Save and you’re done. Congratulations, you’ve shared your slab with the world.
Quick Tip: When selecting slabs, if your creation is too large you can break it into multiple slabs and post them separately. Try to find good breaking points so if users want to put them back together it’s easier to do.
How do I use a TaleSpire board uploaded to Tales Tavern?
Reusing a board that the community created in TaleSpire is very, very easy. TL;DR is open a TaleSpire campaign, find a board, click the button to view in TaleSpire, answer yes for importing.
- First, start TaleSpire and then open your campaign you want to put the board in.
- Find a board on Tales Tavern. Make sure it’s a board as it will be denoted above the thumbnail, or on the top right of the details page.
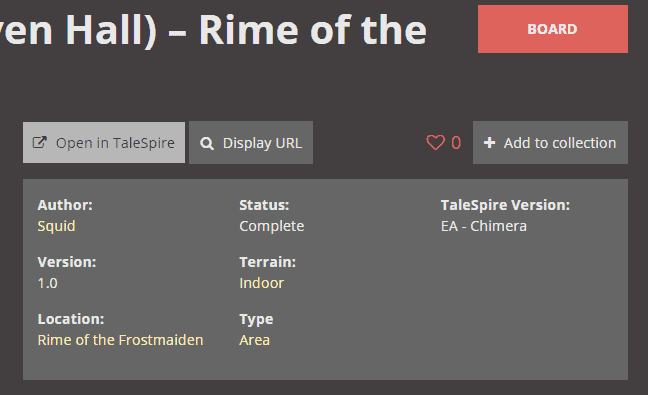
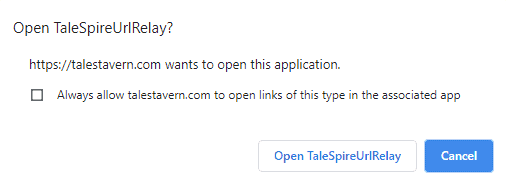
- Click the button to “Open in TaleSpire”. This can be in one of two locations. If you are viewing the board thumbnail while browsing/searching it is under the thumbnail picture and looks like a square with a small arrow. If you are viewing the slab details page click the Open in TaleSpire button.

Quick Tip: When you click the link the browser may ask permission to open TaleSpire. You must click the open button to bring it in. Also, you can click the checkbox to have the browser not ask again for quicker imports in the future.
- TaleSpire will pop up and show a message about importing the board. If you click OK the board will import and be put in your board list for that campaign.
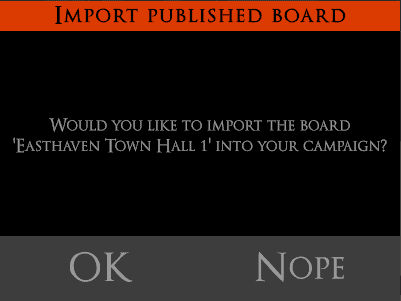
Quick Tip: Once the board is imported it will show in your board list, but it will not automatically move to the board, so you won’t see a visible change on your current board.
How do I share a board I’ve created in TaleSpire?
You’ve created something in TaleSpire and you’re looking to share with the community your build. We said that before with slabs but you still get props. You’re stupendous! Now let;s get down to business.
- Before uploading your board, you’ll want to save a few screenshots. We’ve got some tips if you need help on how to take screenshots in TaleSpire.
- Now go to the Slab/Board Upload page
- Go ahead and fill out the name, and then we’ll need to get the board url.
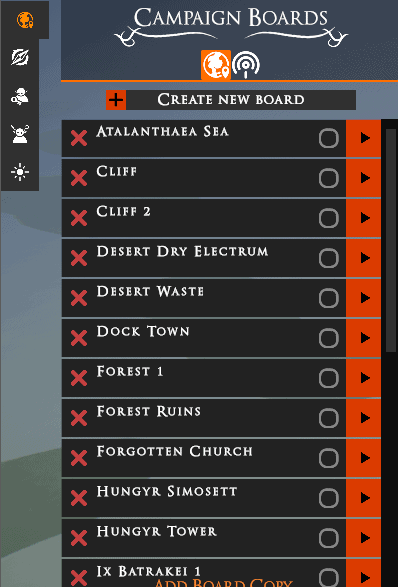
- To get the board url, open your board and then go to the board menu. Once there you’ll see a publish copy button that look like a bunch of concentric circles (see below). Simply click that to open the board copy tab.
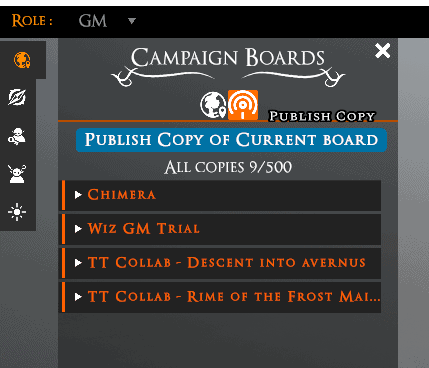
- Now once inside the board simply click the big “Publish Copy of Current Board” button. This will add a new item under the campaign name you are in. If the campaign isn’t in the list, it will add it.
- Click on the campaign name and now you’ll see the board copies available. The lower copies are the most recent.
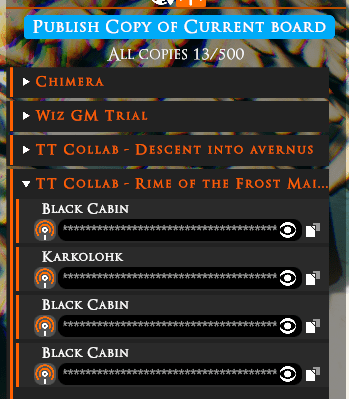
- Now simply click the copy icon (looks like two pieces of paper) on the right side of the board copy you want to use. This will copy the board URL into your Windows clipboard.
- Now return to the Tales Tavern upload page and in the code/url box simply press Ctrl-V which will then dump the url in. It will look something like talespire://published-board/UmltZSAtIFdlbGNvbWU=/191f643642e27f19ae99e996db8b7dac
- Go through and fill out the rest, adding locations, types and terrains that are appropriate, free form tags, descriptions, upload your images and check off that you created the board.
- Make sure to give anyone credit who you used pieces from.
- Now click Save and you’re done. Congratulations, you’ve shared your board with the world!
We hope this guide was helpful whether you’re just starting out with TaleSpire or are about to begin sharing a completely library of creations with the world. We’re glad to have you along.
If you find any problems with this article, think something more needs to be added, or simply have ideas that will help make this a better resource, let us know. We want this guide to be a community resource for every TaleSpire fan.