

Monster Lairs – Flameskull – Vault of Accat Ocram
Slab
The wizard Accat Ocram is a paranoid fellow who’s greatest fear is the loss of his magical tomes. To mitigate this threat, he made a series of vaults, within which he sealed copies of his spellbooks. Though he knows how to easily bypass the security within these vaults, intruders can expect their deaths should they choose to break in.
(Since I have no way to number the rooms in the map, I will arrange their screenshots in numerical order to help out those of you DMs reading at home)
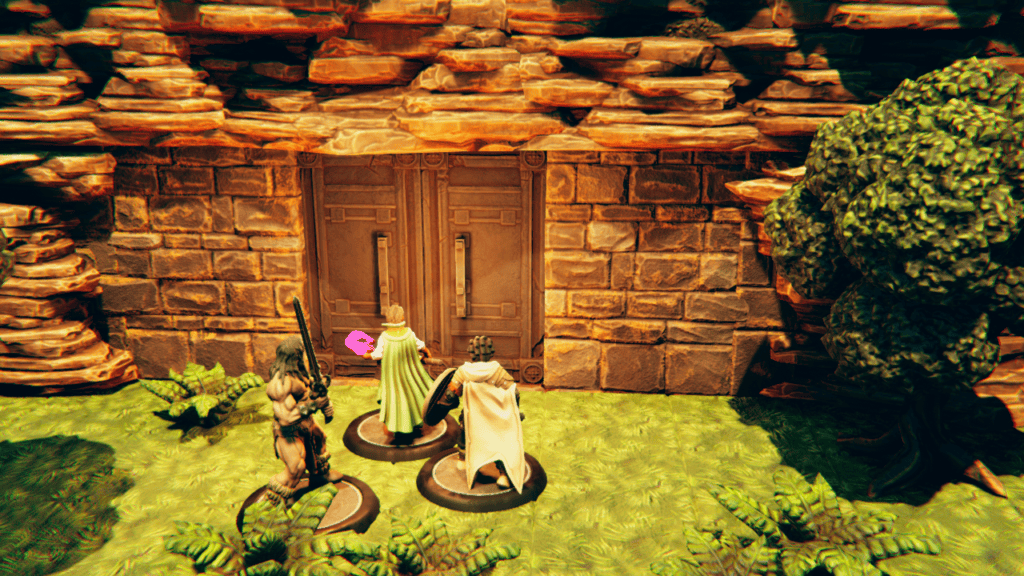
1) Entrance – A solid metal double door has been built into the side of a mountain.
The door is sturdy and the lock is of good quality. Beyond this, the door has been sealed with an Arcane Lock spell that only responds to the draconic word for “spellbook” (Which happens to be “madagtija”). While Accat possesses the key and password, intruders are likely not as lucky and will have to either pick the lock or force it down. The DC for either is 25 if the Arcane Lock is still in operation, or 15 if it has been disabled.
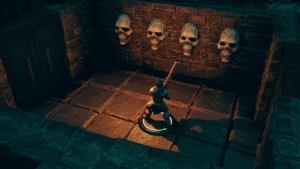
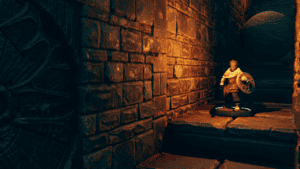
2) Skull Room – The outer doors open to reveal a small room flanked by massive skulls. There is a double door in the opposite wall.
The 10′ square in the center of the room is a pressure plate (DC 18 to notice). Anyone who steps on it causes the skulls to shoot gouts of flame that deal 3d8 points of fire damage per round (DC 15 Dex save for half) to everyone in the room for 5 rounds from the moment that no one is stepping on the pressure plate. It takes approximately 40 pounds to trigger the pressure plate. The far door is unlocked.
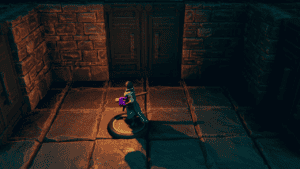
3) Three doors – The door opens to a room with three new doors, one ahead and one to the left and right.
The doors are unlocked (for now). There is nothing to worry about in this room, but each square is a pressure plate. All each pressure plate does is click loudly. They were originally meant to be triggers for traps, but Accat decided to leave them as is to scare off intruders.
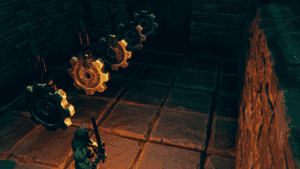
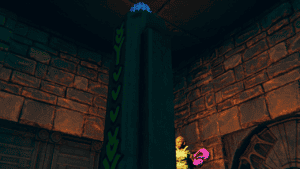
4) Pendulum Room – A series of swinging bladed pendulums is all that blocks the way to the double doors on the opposite side of the room.
Whenever a character enters the area with swinging blades or begins their turn there, there is a chance that they are hit by one of the swinging blades. A DC 15 Dex save avoids a potential hit, which otherwise deals 2d6 slashing damage to the victim. If the save fails by 5 or more, double the damage and the character is knocked prone.
A secret door to the right next to the skull on a stick allows Accat to bypass the pendulums as well as the next trapped rom entirely. It takes a DC 15 investigation check to locate the door if unaware of it. The secret door is also arcane locked and requires the same checks as the front door does.
The skulls guard the secret door, firing magical bolts at anyone who touches it (+7 to hit, 3d6 radiant damage for each skull). The skulls are fairly delicate though with an AC of 11 and 1 HP each.
5) Boulder Room – A long hallway slopes downward to what appears to be a dead end.
One must walk down to the end of the hallway to see the door on the right. Of course this triggers the room’s trap. A tripwire halfway down the hall (DC 20 to notice) causes the entrance door to slam shut and lock, then the wall at the top of the slop opens up, revealing a large round boulder which will squish anyone in its way. At the end of each round, the boulder moves 2 spaces on round one, 4 on round 2, 6 on round 3 and so on until it slams into the wall at the bottom of the slope and seals the door there shut until somehow removed. Anyone it hits is trampled, knocking them prone and dealing 5d10 points of bludgeoning damage.
Characters caught in the trap may attempt to squeeze in the corner of the hallway by laying prone and against the wall before it hits them. They will be perfectly safe, provided they are of medium size or less. Alternately they can try to outrun the boulder and go through the door at the bottom of the slope. Opening it requires solving a quick puzzle which you are free to come up with if you really want, but a DC 15 Intelligence save will work just fine to open the door. Failure simply means a round is lost while success will open the door.
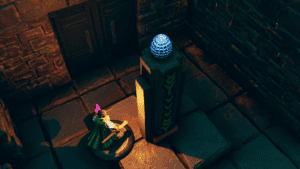
6) Keysphere room 1 – A glowing orb rests atop a pillar in the center of the room. There is also a door to the right.
The orb at the top of the pillar is a decoy. Anyone can try to climb up and get it (DC 10 Athletics), but whoever touches it will trigger a glyph of warding spell and everyone in the room gets hit by an exploding sphere of acid, dealing 5d8 points of damage, DC 16 Dex save for half.
The real keysphere is hidden in a secret compartment at the base of the column, which can be located with a successful DC 15 Investigation check.
The door here leads up to the secret door in room 4. While it is obvious from this side of the door that it is there, it still requires unlocking to get through.
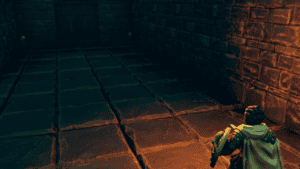
7) Pit trap room – Other than a pair of skulls on sticks and a door on the far end of the room, this room is empty and unremarkable.
The majority of this room consists of a spiked pit trap that triggers when 50 or more pounds press the center of the room. Once this happens the floor swings away, revealing a roughly 30’x40’x10′ spiked pit. Anyone who is within 5 feet of one of the edges can attempt a DC 15 Dex save to jump and avoid falling. Otherwise everyone on the large trapdoor falls onto the spikes for 2d8 piercing damage. If you want to make the trap a little more tricky to deal with, the trap doors can swing back in place if not blocked, requiring someone atop to trigger them to open again if anyone wants to get out of the pit. A DC 15 perception check is required to notice that something is strange about the floor.
There is a secret door on the left that allows Accat to bypass this trap as well as the next room. It is identical to the secret door in room #4, including the trap guarding it.
8) Leaping room – This room consists of a huge pit of spikes with a handful of pillars being the only thing bridging the way between where you are to the door on the other side. Five winged statues stand atop 5 of the pillars, watching quietly over the room.
It is an easy DC 10 Athletics or acrobatics check for anyone to leap from one pillar to another. On a failed check, a DC 10 Dex saving throw will allow one to grab the edge of the pillar they were leaping to followed by a DC 10 athletics check to pull themselves up (pulling oneself up requires an action to do). Overall, not the most challenging trap for a group of heroes. However, the statues are secretly gargoyles that have been trained to attack anyone attempting to cross. They fly about harrying the heroes and attempting to knock them down. Mechanically, this consists of a shove action (gargoyle contested athletics vs target’s athletics/acrobatics) however, since the heroes are busy maintaining their balance, their check is made at disadvantage.
Anyone who falls into the spikes, whether from missing a jump or being shoved down by a gargoyle, takes 2d8 piercing damage.
9) Keysphere room 2 –
This is essentially identical to keysphere room 1 except the glyph of warding deals lightning damage.
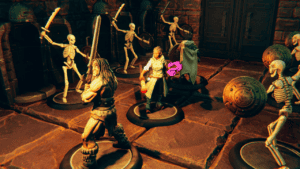
10) Hall of Sarcophagi – Eight standing sarcophagi flank the sides of this room. To the far side is a double door with a pair of platforms that look as though they are missing something.
If the keyspheres are placed on the two platforms, the door opens and nothing happens. If the door is touched or anything but the proper keyspheres are placed on the platforms (the decoys, for example) the sarcophagi fling open and each one releases a skeleton that attacks the heroes. The doors cannot be picked and can only be opened through the proper keyspheres.
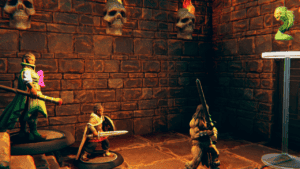
11) Room of the Guardian – Stairs descend into a room with flaming skulls embedded in the walls. There is a door in the opposite wall.
One of the skulls is secretly a Flameskull with instructions to kill anyone other than Accat who enters the room. If the heros fought with the skeletons in the previous room, it will prepare for them by casting blur on itself the round it hears combat end. It will then attempt to ambush the heroes as they enter, opening combat with a fireball. After that, it will stay out of reach with flight and fire off fire rays, using shield when needed to avoid incoming ranged attacks.
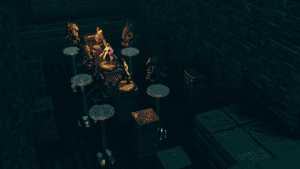
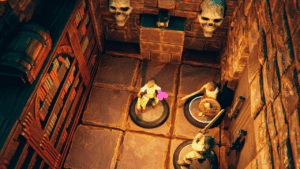
12) Treasure Room – It appears that you have found the treasure room of this vault. A bookshelf covered with books immediately captures your attention as well as a chest atop it. As other rooms, there are skulls on the walls, including a pair of platforms with books on them.
The bookshelves are decoys. Anyone to takes any of those books causes the vault to collapse in on itself, a process that takes 5 rounds. During this time, rubble falls from the ceiling. Randomly choose a hero who must make a DC 15 Dex save or take 2d6 points of bludgeoning damage from falling rubble and be knocked prone. After the 5th round, the entire vault collapses and anyone inside is instantly killed.
The chest can contain whatever treasure you like or could be a decoy as well. The two books placed alone on platforms are Accat’s spellbooks. DM’s choice as to what spells they contain, but among them is Animate Dead as well as a 7th level spell that allows one to create Flameskulls from the skulls of dead wizards.
